


DIY
DIY your own make up/ storage box!
Storage crisis is one emergency that we all have to deal with. No matter how much furniture you buy or shelves you clean out, there will always come one day when you will run out of space again. And when items don’t have their own place to stay in, it can get really hard to avoid a messy house.
Recently I bought some skincare products that did not fit into my makeup drawer. I was running out of space and they just ended up making a huge clutter on my table anyway. I had to store them together somewhere, but I did not find anything that was specific to my purpose. I clearly did not have space or money for new furniture items, so I decided to make a pretty makeup storage box where I could keep all my newly- bought products in.
This box was actually quite easy to make, and the time I took was about 5-6 hours. Sure, it might look like a lot of time if you are a busy bee, but this kind of small DIY project could be really a lot of fun to do during the weekends. So here is how you can make a box like this:
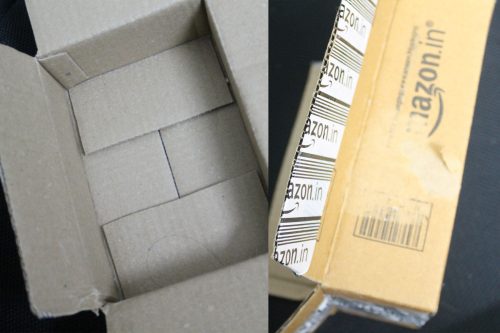
Start with a cardboard box. It could be anything- even delivery boxes would do! Just choose the one that is big enough for the items you that want to store, and strip away the plastic or any other paper that could be stuck to it.
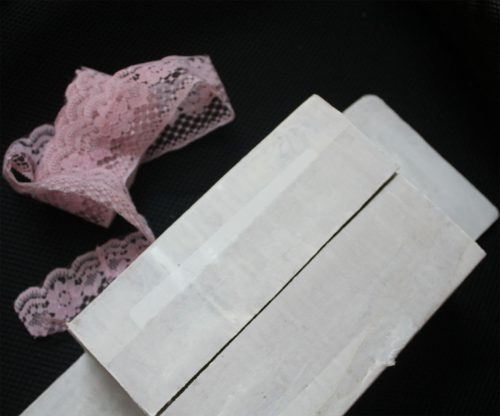
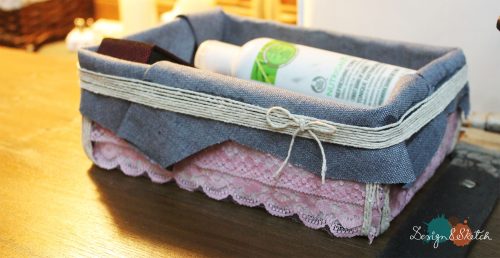
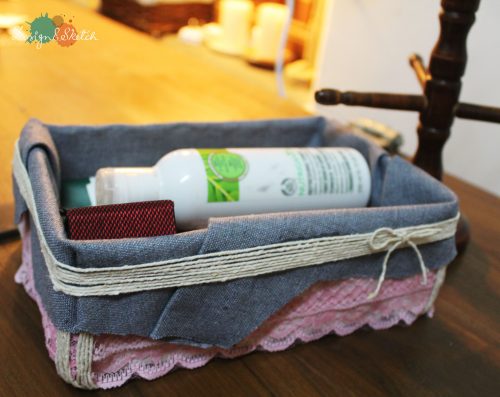
Paint the whole box with white gesso. Gesso is a primer that sticks to any surface you apply it on, and it makes any paint you put on it longer lasting. However, I used the gesso only to make the surface matt white. I wanted to paste strips of the pink ribbon on the painted box, so the white gesso was a good choice to begin with. Instead of gesso, you can use any white paint you prefer. However, this is where you can have some fun and use any colours you want. You can also not paint it but let the natural colour of the box show through the net of the ribbon instead.
For the ribbon, use something broad and with weaves in it. This will let the colour underneath show, and will also add a shabby chic charm to the overall look of the box. 🙂
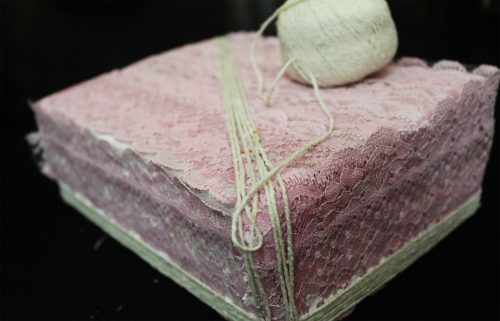
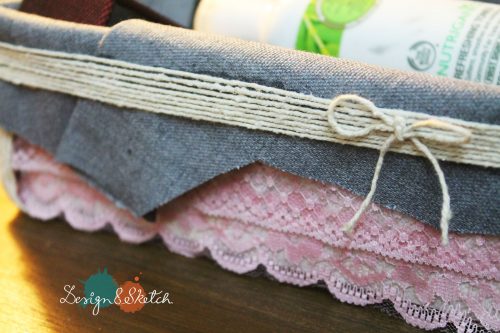
Now get a rope. Any thin rope would do. I got mine in one of the shops at Gariahat, so if you are in Kolkata, West Bengal, you can head there and get this exact rope. However, you can use anything you have available in your local art store- even ribbons of matching colours would do!
Put some glue on the corners of the box where the edges of the ribbon strips meet. Line the rope up and attach it to the glued portions and this way you will be able to cover up the edges of the ribbons as well. Once you have gotten a look that you like, you can cut off the excess rope and let the box sit for a while for the glue to dry.
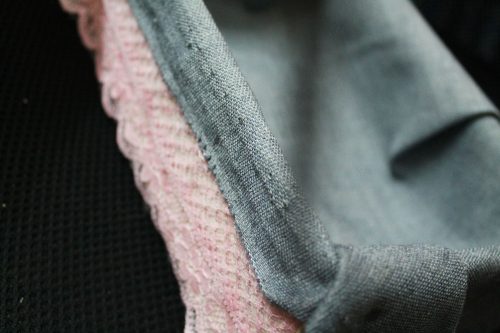
Now it is time for the next challenge. This can test your patience a bit, so make sure you stay calm while doing it. 🙂 Take any beautiful fabric piece you have ( I had some ‘jeans’ cloth left in my crafting supplies) and cut it down to size. Remember that you want the edges to go over, so make sure you cut it with enough fabric to cover parts of the four sides of the box on the outside.
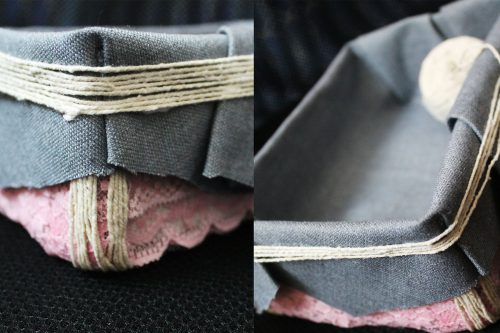
I did not want a clean edge for the sides of the fabric, and I wanted to create folds. This makes the process quicker as well because you do not have to take the time to measure and cut. Just add some PVA glue on the insides of the box so that the fabric can stick to them and then simply fold the fabric outside and glue it to the sides. After that, I glued more rope on top of the fabric and that gave the box a cute, neat look! 🙂
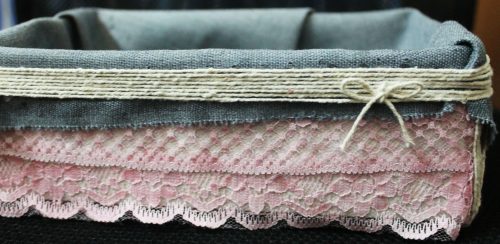
Finally, take some more thread and cut it up into small bits that you can make two bow tie with. Attach them to the sides or the middle (anywhere you like) and you are done!
Comment >>